Have you ever wanted to create a cherished keepsake of your baby’s tiny hands and feet? In this article, we will show you how to easily and effectively make baby foot and handprints. With just a few simple steps and a bit of creativity, you can capture the adorable and fleeting moments of your little one’s childhood. Get ready to embark on a fun and memorable DIY project that will not only serve as a beautiful memento but also make for heartfelt gifts for family and friends. Let’s dive into the joy of preserving these precious memories together!

Materials Needed
To create beautiful and memorable baby foot and handprints, you will need a few essential materials. Here is a list of what you will need:
Non-toxic paint
It is crucial to use non-toxic paint that is safe for your baby’s delicate skin. Look for paints that are specifically labeled as baby-safe or non-toxic to ensure your little one’s safety.
Baby-safe paintbrush
A soft and gentle baby-safe paintbrush will allow you to apply the paint smoothly and evenly onto your baby’s foot or hand.
Blank canvas or paper
Choose a blank canvas or paper as the base for your baby’s foot and handprints. Make sure it is clean, smooth, and suitable for painting.
Water and damp cloth
Having water and a damp cloth on hand will help you clean your baby’s foot or hand immediately after making the prints. This ensures that the paint doesn’t dry on their skin and makes for easier cleanup.
Disposable wipes
Disposable wipes are great for quick and convenient cleanup during the printing process. They can help remove any excess paint from your baby’s foot or hand and keep everything neat and tidy.
Preparing the Baby
Before you begin the fun process of creating baby foot and handprints, it’s essential to prepare your little one for the experience. Here are a few steps to follow:
Choose the right time
Pick a time when your baby is most likely to be in a good mood and well-rested. Trying to do footprints or handprints when your baby is tired or hungry may not yield the best results. Aim for a time when they are calm and content.
Ensure baby’s comfort
Make sure your baby is comfortable and relaxed before starting. Check that they have a clean diaper and are neither too hot nor too cold. By ensuring their comfort, you increase the chances of a successful printing session.
Protect baby’s clothes
Covering your baby’s clothes with a suitable smock or old t-shirt can help prevent any accidental paint stains. It’s always a good idea to be prepared, as babies have a knack for getting messy!
Trim baby’s nails
Before you begin, gently trim your baby’s nails to avoid any accidental scratches or injuries during the printing process. Short nails also make it easier to apply the paint evenly on the foot or hand.

Prepping the Workspace
Creating baby foot and handprints can be a messy but enjoyable activity. Taking the time to set up your workspace properly will make the process smoother and less chaotic. Here’s what you need to do:
Cover the working surface
To protect your furniture or working surface from accidental paint spills or smudges, lay down a protective cover. An old tablecloth or disposable plastic sheet works well for this purpose.
Gather all materials
Before you begin, gather all the materials you need for the printing process. Having everything within reach will make the entire experience more organized and enjoyable.
Set up a clean area
Clear a space dedicated to making the prints. Keep it clean and free from any clutter or distractions. Having a designated area enhances focus and helps ensure a successful outcome.
Footprint Technique
Creating footprints of your baby’s cute little feet is a popular choice for many parents. Here’s how you can do it:
Choose the foot to print
Decide which foot you would like to use for the prints. You can choose either the left or right foot, depending on your preference.
Apply paint to the foot
Using the baby-safe paintbrush, carefully apply a thin layer of non-toxic paint onto the chosen foot. Make sure the entire surface area of the foot is covered evenly.
Gently press the foot onto the canvas
With the painted foot, gently press it onto the canvas or paper. Apply even pressure to ensure a clear and defined footprint. Hold the foot in place for a few seconds before lifting it off.
Lift the foot carefully
After creating the footprint, lift the baby’s foot off the canvas or paper gently. Take care not to smudge the print during this process.
Clean the foot immediately
Use a damp cloth or disposable wipes to clean the paint off your baby’s foot immediately. This prevents any accidental smearing of the paint onto other surfaces or your baby’s clothes.

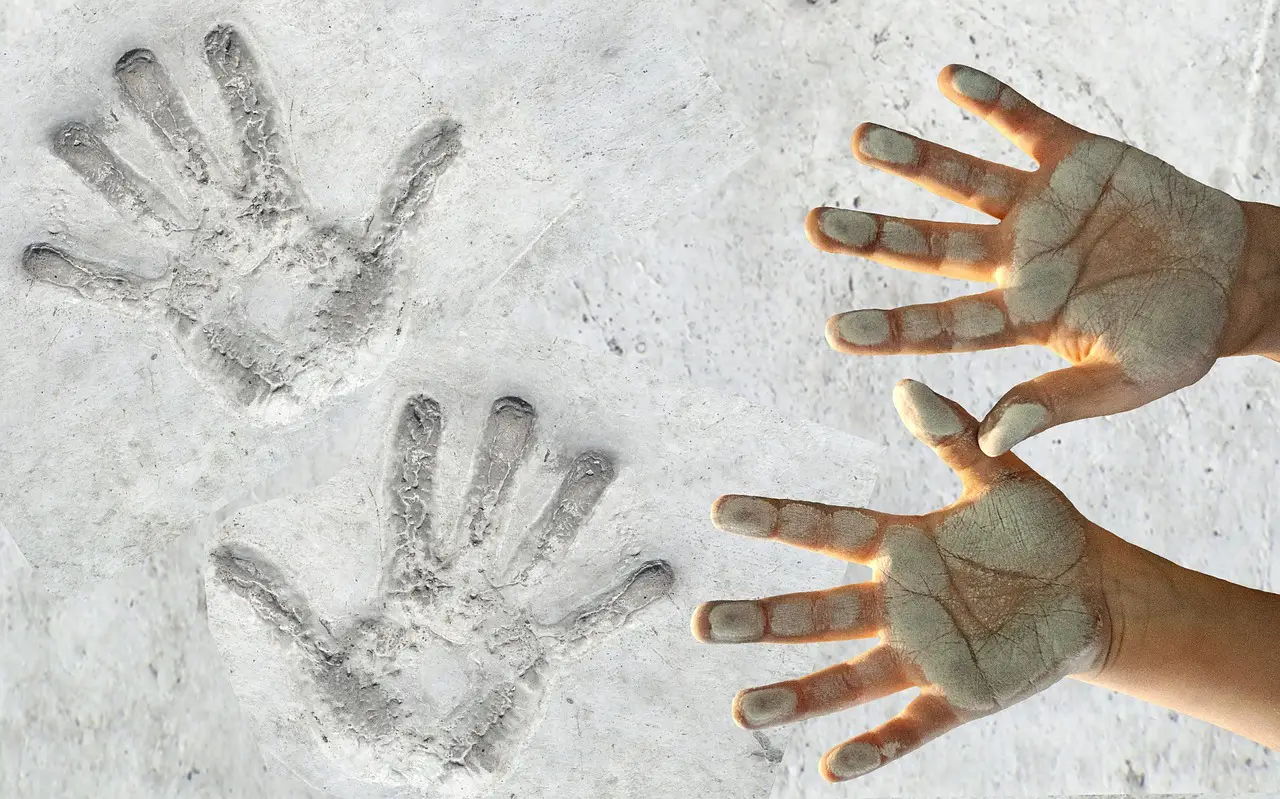
Handprint Technique
If you prefer handprints, here’s how you can achieve a beautiful handprint keepsake:
Choose the hand to print
Decide which hand you would like to use for the prints. You can choose either the left or right hand, depending on your preference.
Apply paint to the hand
Using the baby-safe paintbrush, apply a thin and even layer of non-toxic paint onto the chosen hand. Make sure the paint covers the entire palm and fingers.
Guide baby’s hand onto the canvas
Gently guide your baby’s hand onto the canvas or paper, positioning it in the desired location. Ensure that the hand is flat and the fingers are spread slightly apart for a clear handprint.
Press gently but firmly
Apply gentle but firm pressure to your baby’s hand, making sure all areas come into contact with the canvas. This will create a clear and defined handprint.
Lift the hand carefully
After making the handprint, carefully lift your baby’s hand off the canvas. Take care not to smudge the print during this process.
Clean the hand immediately
Immediately clean your baby’s hand with a damp cloth or disposable wipes to remove any residual paint. This prevents any accidental transfer of paint to other surfaces or your baby’s clothes.
Mixing Footprints and Handprints
If you want to create a beautiful artwork combining footprints and handprints, follow these steps:
Decide on the layout
Consider the composition and layout you want for your artwork. Visualize how the footprints and handprints will come together to create a cohesive and aesthetically pleasing design.
Experiment with positioning
Before applying any paint, experiment with different positions for the footprints and handprints on a separate piece of paper. Once you are satisfied with the arrangement, you can transfer it to the final canvas or paper.
Make sure paint is dry before proceeding
Make sure the paint from the footprints and handprints is completely dry before adding additional prints or embellishments. This will prevent smudging and ensure a clean and professional-looking final piece.

Adding Personalization
To make your baby’s foot and handprints even more special, consider adding personalization. Here are a few ideas:
Write baby’s name and date
Using a fine-tip paintbrush or marker, write your baby’s name and the date of the prints next to the footprints or handprints. This adds a personal touch and serves as a beautiful reminder of when the prints were made.
Include a special message or quote
You can also add a special message or quote that holds significance to you and your baby. It could be a favorite saying, a meaningful poem, or words of love and encouragement.
Use additional decorations or embellishments
Feel free to get creative and add additional decorations or embellishments to the artwork. Use glitter, stickers, or even small cut-outs to enhance the overall design and make it truly unique.
Allowing the Print to Dry
After creating your baby’s foot and handprints, it’s essential to let them dry properly. This ensures that the prints stay intact, and the artwork remains pristine. Follow these tips:
Avoid smudging the print
Keep the print as undisturbed as possible while it is drying. Avoid touching or brushing against it to prevent any accidental smudging or smearing of the paint.
Leave the print undisturbed for sufficient time
Allow ample time for the footprints and handprints to dry completely. The drying time will vary depending on the type of paint used, so refer to the manufacturer’s instructions for guidance. It’s better to be patient and wait longer than risk compromising the quality of the prints.
Protecting and Displaying the Prints
Once the prints are fully dried, it’s time to protect them and proudly display them for everyone to see. Follow these steps:
Apply a clear protective sealant
To protect the prints from fading or getting damaged over time, consider applying a clear protective sealant. This will help preserve the colors and keep the artwork looking vibrant for years to come. Be sure to choose a sealant that is non-toxic and safe for children.
Choose an appropriate frame
Select a frame that complements the style and size of your artwork. Look for frames that are easy to open, allowing you to change and update the prints as your baby grows. Opt for a frame with a protective glass or acrylic cover to shield the prints from dust and damage.
Hang or place the prints in a safe and visible location
Find a special spot to display your baby’s foot and handprints. Consider hanging them on a wall or placing them on a shelf or mantelpiece. Choose a safe location away from direct sunlight or excessive moisture to ensure the longevity of the prints.
Tips and Precautions
While creating baby foot and handprints can be a delightful experience, it’s important to keep a few tips and precautions in mind for a smooth and safe process:
Avoid using toxic or harmful materials
Always choose non-toxic and baby-safe paint for the footprints and handprints. Check the labels to ensure the materials are safe for your baby’s sensitive skin. It’s better to be cautious and prioritize your baby’s safety above all else.
Keep baby entertained during the process
Babies can become fussy or restless during the printing process. To keep them engaged and happy, consider playing soft music, singing their favorite nursery rhymes, or having a toy or rattle nearby. This will help distract and entertain them, making the experience more enjoyable for both of you.
Be patient and take breaks if needed
Creating baby foot and handprints can take time, especially if your little one becomes uncooperative or fidgety. Be patient and take breaks as needed to avoid overwhelming your baby. Remember, it’s more about the experience and the memories than rushing through the process.
Clean baby’s skin thoroughly post-printing
After creating the footprints and handprints, make sure to clean your baby’s skin thoroughly. Use a gentle cleanser and warm water to remove any residual paint. Pat dry with a soft towel and apply a moisturizer to keep their skin hydrated and nourished.
Consult a pediatrician if concerns arise
If you have any concerns about the materials or techniques used for creating baby foot and handprints, don’t hesitate to consult your pediatrician. They can provide guidance and address any specific concerns or questions you may have.
Creating baby foot and handprints is a wonderful way to capture and cherish those precious moments of your little one’s early years. Follow these steps, have fun, and create beautiful keepsakes that will be treasured for a lifetime.